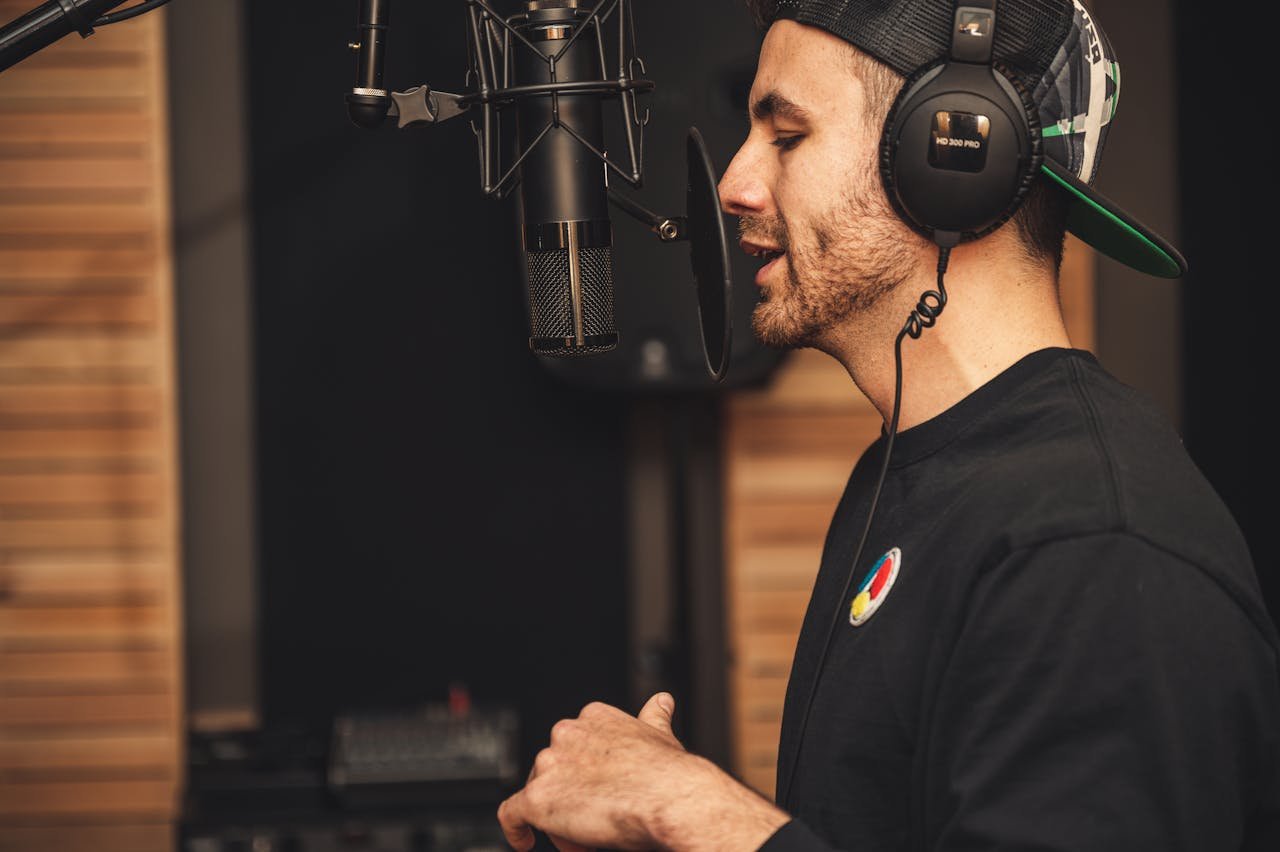
How to Record Vocals Like a Pro: Tips for Clear, Crisp Sound
Capturing great vocal recordings is essential for any musician or producer. Whether you’re recording in a home studio or a professional setup, clear and expressive vocals can elevate your music. While recording vocals can be challenging, following a few key techniques will help you achieve a polished, professional sound.
Preparing Your Recording Environment
Before you even hit record, it’s important to set up your space for optimal sound quality. Choose a quiet room with minimal background noise and natural reverb. Use acoustic treatments like foam panels or blankets to reduce reflections and create a clean recording environment.
Position your microphone in the center of the room, away from walls and windows, to avoid unwanted echoes. If you don’t have a dedicated vocal booth, a pop filter and a reflection filter can make a significant difference in the clarity of your recordings.
Choosing the Right Microphone
The type of microphone you use can greatly impact your vocal recordings. For most vocalists, a condenser microphone is the best choice due to its sensitivity and ability to capture subtle nuances. Pair it with an audio interface to ensure high-quality sound input.
Dynamic microphones are another option, especially for louder vocal styles like rock or metal. Experiment with different microphones to find the one that complements your voice.
Recording Techniques for Better Vocals
- Mic Placement: Position the microphone about 6-12 inches from your mouth. Use a pop filter to prevent plosive sounds caused by hard consonants like “P” and “B.”
- Warm-Up and Hydration: Warm up your voice before recording with vocal exercises. Stay hydrated to keep your vocal cords in good condition.
- Consistent Volume: Maintain a steady distance from the microphone to avoid sudden changes in volume. If you’re moving during the performance, use a microphone stand to keep the mic in a fixed position.
Performance Preparation
Confidence and emotion are key to delivering a great vocal take. Practice your lyrics and phrasing beforehand to minimize mistakes during recording. Record multiple takes so you have options to choose from when editing.
Editing and Processing Vocals
Once you’ve recorded your vocals, it’s time to clean them up in your DAW. Use tools like EQ to remove unwanted frequencies, compression to balance dynamics, and reverb to add depth. Be careful not to over-process; the goal is to enhance the natural quality of your voice.
Final Touches
Listen to your recording on different playback systems, like headphones, speakers, and car audio, to ensure it sounds good across all devices. Make adjustments as needed to refine your mix.
Recording vocals like a pro takes practice, but with the right environment, equipment, and techniques, you can achieve clear, crisp results. Whether you’re creating demos or final tracks, investing time in your vocal recordings will pay off in the quality of your music.


